


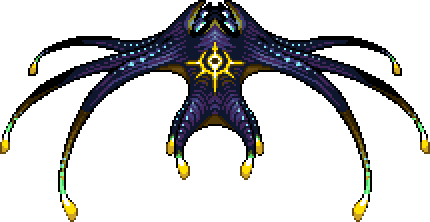
| Type | Boss |
|---|---|
| Environment | Dungeon |
| AI Type | Polterghast AI |
| Damage | 150 / 240 / 264 / 280 (Contact) 120 / 192 / 212 / 224 (Blue Phantom Shot) 140 / 240 / 264 / 280 (Blue Phantom Blast) |
| Max Life | 350,000 / 560,000 / 672,000 |
| Defense | 90 |
| DR | 15% |
| KB Resist | 100% |
| Inflicts debuff | 100% chance |
| Debuff duration | 15 seconds (Contact) |
| Debuff tooltip | You are unable to absorb healing effects |
| Inflicts debuff | 100% chance |
| Debuff duration | 2 seconds (Blue Phantom Shot and Blast) |
| Debuff tooltip | Incinerated by lunar rays |
| Immune to | |
| Vulnerable to: | |
| Resistant to: |

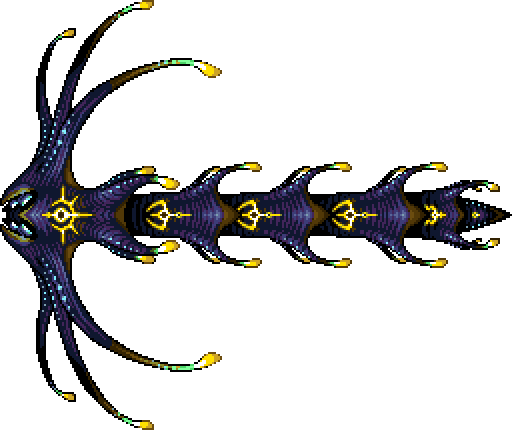
| Type | Boss |
|---|---|
| Environment | Dungeon |
| AI Type | Polterghast AI |
| Damage | 180 / 288 / 316 / 336 (Contact) 130 / 212 / 236 / 248 (Red Phantom Shot) 150 / 260 / 288 / 304 (Red Phantom Blast) |
| Max Life | 175,000 / 350,000 364,000 / 560,000 537,600 / 672,000 604,800 / 672,000 |
| Defense | 72 |
| DR | 20% |
| KB Resist | 100% |
| Inflicts debuff | 100% chance |
| Debuff duration | 15 seconds (Contact) |
| Debuff tooltip | You are unable to absorb healing effects |
| Inflicts debuff | 100% chance |
| Debuff duration | 2 seconds (Red Phantom Shot and Blast) |
| Debuff tooltip | Death approaches; defense, movement speed, attack power and life regen reduced |
| Immune to | |
| Vulnerable to: | |
| Resistant to: |

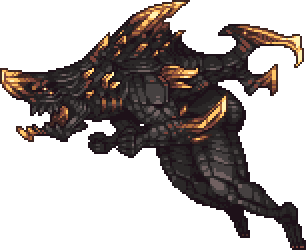
| Type | Boss |
|---|---|
| Environment | Dungeon |
| AI Type | Polterghast AI |
| Damage | 210 / 336 / 369 / 392 (Contact) |
| Max Life | 70,000 / 350,000 196,000 / 560,000 336,000 / 672,000 403,200 / 672,000 |
| Defense | 45 |
| DR | 50% |
| KB Resist | 100% |
| Inflicts debuff | 100% chance |
| Debuff duration | 15 seconds (Contact) |
| Debuff tooltip | You are unable to absorb healing effects |
| Immune to | |
| Vulnerable to: | |
| Resistant to: |
| Coins | 60 |
|---|
- Item (Quantity)Rate
 Phantoplasm (30-40 / 40-50)100%
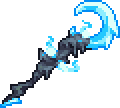
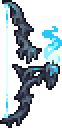
- At least one of the following 7 weapons will always drop:
- 25% / 33.33%
- 25% / 33.33%
- 25% / 33.33%
- 25% / 33.33%
- 25% / 33.33%
- 25% / 33.33%
- 25% / 33.33%
- 100%
- Supreme Healing Potion (5-15)100%
- 14.29%
- 10%
- Polterghast (Lore)(Always on first kill)100%
- Treasure Bag(Polterghast)
- • Ectoheart(In Revengeance Mode only)
100% - •


- Not to be confused with Poltergeist, a vanilla enemy.
![]() "Long-dead prisoners seek their zealous revenge..."
"Long-dead prisoners seek their zealous revenge..." ![]()
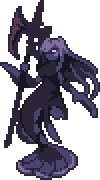
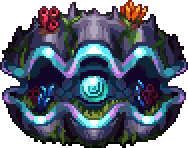
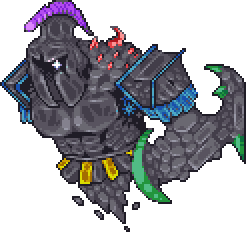
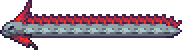
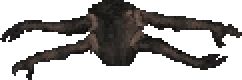
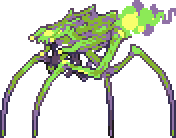
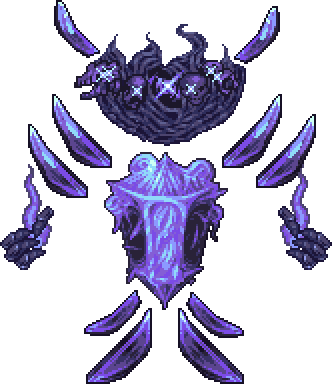
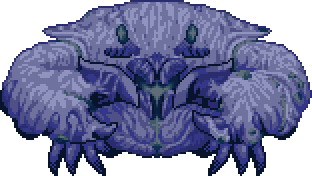
Polterghast (Japanese: ポルターちゃん Porutā-chan) is a Godseeker Mode boss that can be fought in the Dungeon.
Defeating Polterghast will allow the Arc to move in, a Town NPC who sells Ruinous Souls, a material used to craft powerful equipment. Additionally, mini bosses in the Abyss will begin dropping weapons upon its defeat, and the final tier of the Acid Rain event will become unlocked.
Summoning[]
Polterghast can be summoned by using a Necroplasmic Beacon in the Dungeon. Alternatively, if it has not yet been defeated in the world, it will spawn after killing 30 Phantom Spirits, which can be found in the Dungeon in Godseeker Mode. After defeating it once, using a Necroplasmic Beacon becomes the only way to summon the boss.
Behavior[]
Polterghast behaves similarly to Plantera, chasing the player quickly while using four long appendages to grapple blocks. In the second phase, however, these appendages will detach and begin firing projectiles independently, before re-attaching in the final phase as Polterghast summons an unbound clone of itself.
Polterghast will receive a boost to its speed depending on the size of the arena it is fought in, which is determined by the amount of active tiles in an area around it. If the arena is smaller it will move slower, and if the arena is larger it will move faster, proportional to the lack of blocks. Its projectiles' speed and rate of fire are also affected by these boosts.
If the player travels to the Surface, Polterghast will enrage, gaining a speed boost until they return. If they remain on the surface for over 10 seconds, Polterghast will accelerate away and despawn.
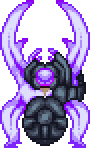
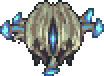
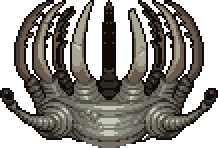
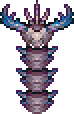
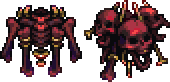
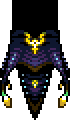
Phase 1 (Polterghast)[]
- Polterghast follows a Plantera-like behavior, placing its hooks on nearby walls to quickly pull itself towards the player.
- Polterghast alternates between moving slowly while firing a spread of 5 slow, cyan coloured Phantom Shots and moving more quickly while firing a spread of 4 fast, homing Phantom Blasts that move through blocks.
- Polterghast periodically stops shooting projectiles and glows red, positioning itself diagonally to the player before charging at them once.
- Transforms into Necroghast at 50% / 65% / 80% / 90% health.
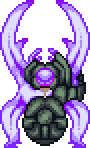
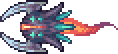
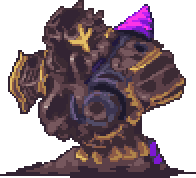
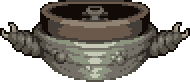
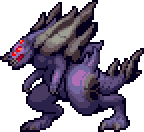
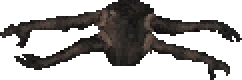
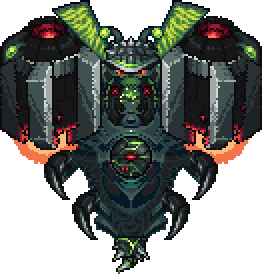
Phase 2 (Necroghast)[]
- Necroghast's hooks detach from their chains, and they begin independently moving and shooting ghostly projectiles at the player.
- Necroghast moves more quickly and deals more contact damage.
- Necroghast begins firing a spread of 5 Potent Phantom Shots or Blasts, which are red projectiles that travel faster, further, and deal slightly more damage.
- Necroghast charges a second time while it is glowing red.
- Transforms into Necroplasm at 20% / 35% / 50% / 60% health.
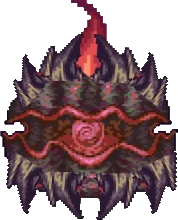
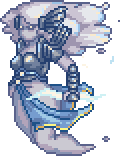
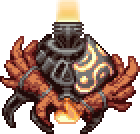
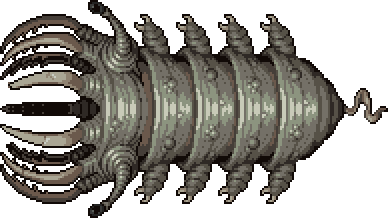
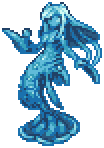
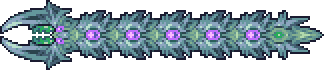
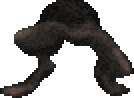
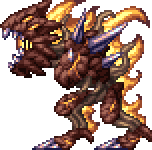
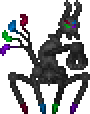
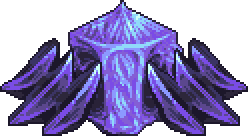
Phase 3 (Necroplasm)[]
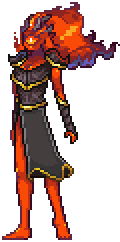
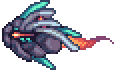
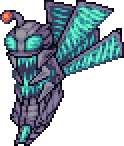
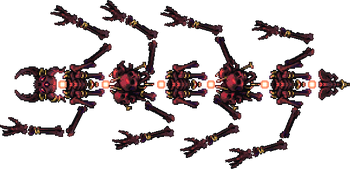
- Upon entering Phase 3, Necroplasm summons a clone of itself, as well as 3 Phantoms. The clone behaves similar to Necroplasm, staying within the hooks and alternating with Necroplasm in chasing the player, while the Phantoms orbit Necroplasm and occasionally fire Phantom Mines that gradually accelerate over time.
- Both the Clone and the Phantoms can be killed; however, killing the clone will increase Necroplasm's aggression.
- Necroplasm's hooks move slower and less often. The chains reappear and the hooks no longer shoot projectiles.
- Necroplasm moves significantly faster and deals even more contact damage. Additionally, it fires a spread of 6 Shots every 7 seconds.
- While glowing, the clone positions itself on the other side of Necroplasm and charges up to 3 times in tandem with Necroplasm.
- If the clone has been killed, Necroplasm charges 4 times instead, and its charges are much faster.
- The Phantoms cannot shoot Phantom Mines while Necroplasm is charging.
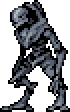
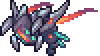
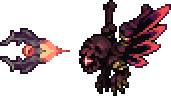
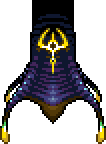
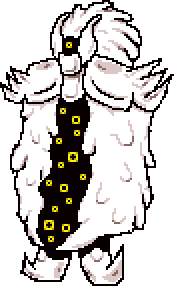
- When below 10% / 20% / 35% / 45% health, Necroplasm begins summoning up to 2 Happy Phantom Spirits, which also fire ghostly projectiles at the player.
- When below 5% / 10% / 15% / 20% health, Necroplasm begins to move more quickly as a last-ditch effort to attack the player, and will also stop summoning Happy Phantom Spirits.
In Expert Mode[]
- Polterghast's velocity and acceleration are greater in all three phases.
- The rate Polterghast fires Phantom Shots and Phantom Blasts is increased.
- This includes their red versions in later phases.
- Polterghast's hooks can travel further between latches.
- In its third phase, Necroplasm summons three invincible Phantoms which slowly revolve around itself. The Phantoms fire phantom orb mines which are initially slow, but quickly accelerate toward the player.
- The phantom orb mines will not deal damage until they reach maximum velocity.
In Revengeance Mode[]
- Polterghast's velocity and acceleration are even greater in all three phases.
- Transitions into Phase 3 (Necroplasm) at 50% health instead of 33%.
- Spawns Happy Phantom Spirits at 33% health instead of 20%.
- Moves much faster at 10% health instead of 5% health.
- Phantoms shoot more often.
In Death Mode[]
- Transitions into Phase 2 (Necroghast) at 90% health instead of 80%.
- Transitions into Phase 3 (Necroplasm) at 60% health instead of 50%.
- Moves much faster at 25% health instead of 10% health.
- Phantoms Spirits shoot at an even higher frequency.
- Gains velocity and acceleration as HP decreases.
- Can hook increased distances as HP decreases.
- Hooks fire faster and more often as HP decreases.
Summons[]
| Type | Enemy |
|---|---|
| Environment | Dungeon |
| AI Type | Polterghast Hook AI |
| Damage | 0 (Contact) 120 / 192 / 212 / 224 (Phantom Shot) |
| Max Life | 50,000 / 60,000 |
| Defense | 50 |
| KB Resist | 0% / 10% |
| Inflicts debuff | 100% chance |
| Debuff duration | 2 seconds (Phantom Shot) |
| Debuff tooltip | Incinerated by lunar rays |
| Immune to | All debuffs |
| Vulnerable to: | |
| Resistant to: |

| Type | Flying Enemy |
|---|---|
| Environment | Dungeon |
| AI Type | Polterghast (Clone) AI |
| Damage | 210 / 336 / 360 / 392 |
| Max Life | 35,000 / 72,000 / 120,000 / 144,000 |
| Defense | 45 |
| DR | 10% |
| KB Resist | 100% |
| Inflicts debuff | 100% chance |
| Debuff duration | 6 seconds (Contact) |
| Debuff tooltip | You are unable to absorb healing effects |
| Immune to | |
| Vulnerable to: | |
| Resistant to: |
| Type | Flying Enemy |
|---|---|
| Environment | Dungeon |
| AI Type | Phantom AI |
| Damage | 0 (Contact) 150 / 260 / 288 / 304 (Phantom Mine) |
| Max Life | 8,750 / 11,250 / 18,750 / 22,500 |
| Defense | 45 |
| DR | 10% |
| KB Resist | 100% |
| Immune to | All debuffs |
| Vulnerable to: | |
| Resistant to: |
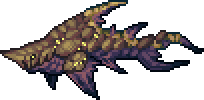
| Image | Name | Condition |
|---|---|---|
| Happy Phantom Spirit | Phase 3 |
Aftermath[]
- After Polterghast has been defeated, a message will say, "The abyssal spirits have been disturbed."
- New content in the Sulphurous Sea and the Abyss will become unlocked:
- The third tier of the Acid Rain and all of its associated content will become available.
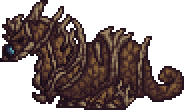
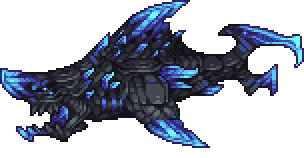
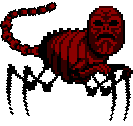
- The Reaper Shark will begin dropping the Valediction, and Deep Sea Dumbbell.
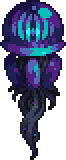
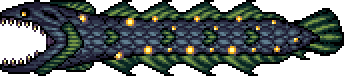
- The Eidolon Wyrm will begin dropping the Eidolic Wail and the Soul Edge.
- The Colossal Squid will begin dropping Calamari's Lament.
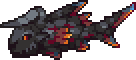
- The Mauler will begin dropping the Sulphuric Acid Cannon.
- The Bobbit Worm will begin dropping the Bobbit Hook.
- Front Gars can now be fished up from the Sulphurous Sea at a 10% chance, which will drop Reaper Teeth, a valuable crafting material, when opened.
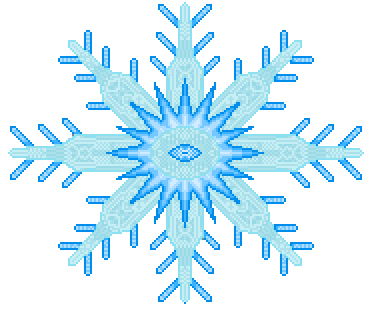
- Phantom Hearts will start randomly spawning and rising upwards for collection in the Dungeon.
- Dungeon Crates will contain Phantoplasm.
- The Cyborg will begin selling the Lion Heart.
- Pigrons start dropping Mutated Truffles.
Resistances[]
- Polterghast takes decreased damage from some items and projectiles. It takes:
- 90% damage from Time Bolt.
Notes[]
- Polterghast moves faster if it is currently inside tiles.
- Polterghast checks for arena size by constantly scanning a 40x40 rectangular area around itself (1600 blocks total). If there are less than 800 active tiles in that area, it will move faster proportional to the lack of blocks.
- The duration of its projectiles will also increase along with the speed boost. The Phase 3 clone will speed up as well.
- If the Ceaseless Void is present, there is a chance for Polterghast to fling itself into Ceaseless Void and despawn. If this happens, Polterghast will immediately spawn in the Distortion when a player enters the subworld.
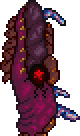
- As it gets damaged, Polterghast slowly goes from cyan to pink, as if it is going from Ectoplasm to Phantoplasm. It becomes fully pink once it reaches its Necroplasm phase. This is hardcoded, meaning Polterghast will always turn phantoplasm pink once it reaches phase 3.
Tips[]
- For more elaborate strategies on defeating Polterghast, including weapon and arena recommendations, see Guide:Polterghast strategies.
- Polterghast has similar AI to Plantera, which means that movement strategies used during that boss fight may work here as well.
- Slowing down and observing how Polterghast behaves shortly before each of its telegraphed dashes would help dodging it, as the boss will only dash diagonally from where it's positioning itself relative to the player.
- For phase 3 especially, dodging towards an axis parallel to where Polterghast and its clone line up would make dodging both a lot easier.
- Don't rush too much when fighting its last form. The chaotic activity can easily overwhelm the player if they're careless. Take your time and be careful when dodging.
- Polterghast can be fought before any Godseeker Mode boss is defeated, although it is highly recommended to wait until Providence and the Sentinels of the Devourer are defeated. Polterghast's high speed, damage, and projectiles can easily overwhelm an unprepared player.
Trivia[]
- Polterghast's theme is Feral Amalgamation, which was made by the artist DM DOKURO.
- If the Calamity Music add-on mod is disabled, Plantera's theme will play instead.
- Polterghast’s theme used to be Ruin, a remix of "In the Hall of the Mountain King" from the game The End is Nigh.
- Polterghast's armor in its first and second phases are colored differently based on the color of the worlds dungeon.
- The bosses hooks will always appear blue colored.
- Polterghast's clone in Phase 3 was inspired by Pontiff Sulyvahn, a boss from the game Dark Souls III.
- The boss's multiple names are the result of a disagreement between the boss's spriter, LordMetarex, and the lead developer, Fabsol/MountainDrew. The spriter was naming his files ‘Necroplasm’ and was using it as the official name for the boss. During a spoiler, the official name was revealed to be ‘Polterghast’. After an argument the developer decided to use ‘Polterghast’ for the first phase and ‘Necroplasm’ for the last phase. ‘Necroghast’, being a combination of the two names, was used for phase two.
- Polterghast can be summoned after the Moon Lord is defeated, as its summoning item only requires Spooky Wood and Phantoplasm.
- In Polterghast's second and third phases, the Boss Health Bar displays the name of the phase followed by "the Polterghast", similarly to how Town NPC names are displayed in Status messages.
- If the Boss Checklist Mod is installed, its unique despawn message will be "The volatile spirits disperse throughout the depths of the dungeon."
- In the mod's source files, Phantoms are referred to as 'PhantomFuckYou'.


